Creating a 2D platformer game is streamlined with our detailed tutorial. This step-by-step workflow using Scenario, includes the selection and utilization of platform-specific platform models, image generation, modification and scaling, and integration into game engines such as Unity. By following these guidelines, developers can efficiently create unique and visually appealing playable platformer game levels keeping structure and style-consistency.
In this article we will go through the following steps for building a Platformer game.
%20(20)%20(1).png)
Every workflow begins with choosing a model. It is possible to train your own Style model for Platformers, however we will review this workflow with one of our Platform Models. The examples we will show were generated on the Illustrated Platformer Environments Model.
With the Platformer models you can use a simple prompt such as ‘a scifi space station’ to get you started. Under Settings change the dimensions to 1824x1024.
When you generate an image you want to work with, save it for later and drag and drop it from your generation into the Reference Image tab in the Inference Window. Keep generating with the addition of the reference image without changing the text prompt, and adjust the Image Influence as needed. Increasing the influence will make your final result more similar to the reference image. Select an image that closely matches the color palette of the original image while showing some nice variation.
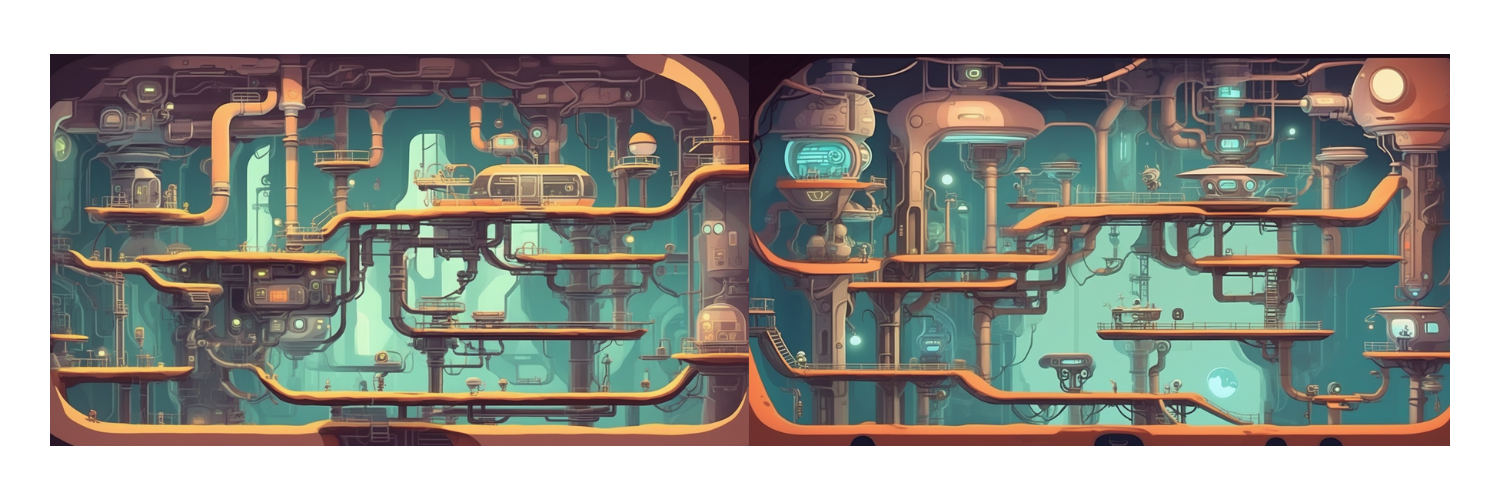
Click on the output image you want to edit, then select Edit in Canvas from the top navigation bar. Open the project, and in the left navigation bar, click the Resize tab. Adjust the width to 3648 pixels (double the original size). Next, select Upload from the sidebar and upload the original reference image. Arrange the two images side by side for easy comparison.
%20(18)%20(1).png)
Select the sketch tool from the left navigation menu. Open the color picker to select colors from the image and roughly sketch out the areas you want to change; extending platforms across the seam, or filling in the background, etc. This will suggest to the model what to In-paint.
Mask out the areas around the seam in small portions. Use the original prompt used to generate the images. When masking around the platforms, add a prompt such as ‘platformer game platform’. Gradually work your way down and around the seam until you’ve removed it.
Merge your layers to flatten the image, and then Download the result.
Watch a video about in-painting on a background with the canvas
%20(19)%20(2).png)
Navigate to the Upscale tool in the main sidebar from the Homepage. In our example we have used the default Standard Style and the Balanced preset. There are different stylized settings and it is possible to add more or less detail to your final output depending on what you choose. For more on making the most of the Upscale tool, check the link below. Click upscale and download your image. You are now ready to deploy the Platformer level in your favorite game development software.
Creating stunning games has become more attainable for studios of all sizes. With this workflow, you're well on your way to developing an exceptional Platformer experience. For more game creation workflows, explore the links provided below.
Additional Resources


.svg)


%20(11)%20(1).png)


